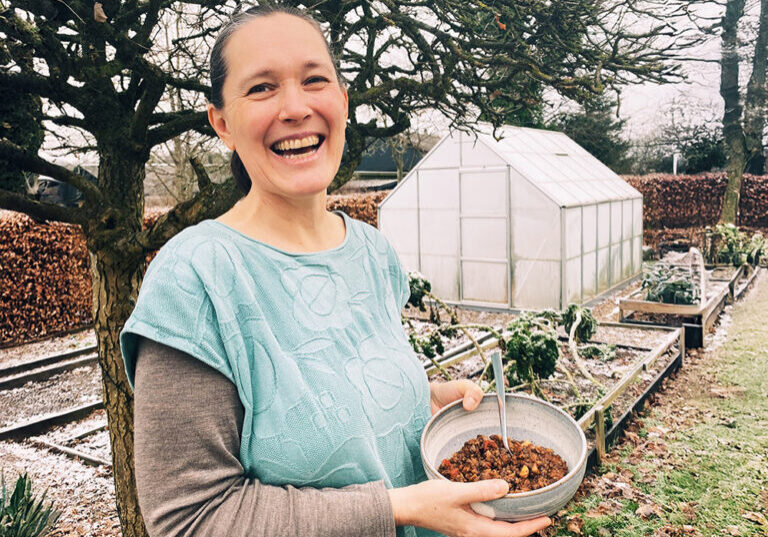


Homemade gluten-free crispbreads are a staple in the retreat kitchen that is usually warmly received. These crunchy, fragrant and nutritious core slabs are healthy, they accommodate gluten allergies, and they are just super delicious in a way that is hard to explain and better experienced.
We got the basic recipe from our friend Cathrin in Oslo, and it's easy to improvise over. When you get the crispbreads at our courses, they are always influenced by the kitchen's current seed stock and the baker's creativity.
A good rule of thumb is that as long as you stick to the specified ratio of dry to wet, things will usually go well.
Here is our recipe for crunchy, wholesome crispbread:
Ingredients:
- 2 dl flaxseed
- 1 dl pumpkin seeds
- ½ dl optional gluten-free flour: rice flour / gluten-free oatmeal / buckwheat flour / almond flour
- 1½ dl sesame seeds
- 1 dl sunflower seeds
- 1 teaspoon salt
- 2½ dl cold water
Procedure:
Mix seeds, kernels, flour and salt in a bowl.
Then add water.
Stir the dough well.
The dough may seem too wet now, but it just needs a little time to settle. Let it rest for 30-40 minutes so the seed and flour mixture absorbs the liquid.

At this point in the process, you can give the dough an ultra-short run with the blender. But you can also leave it alone. The blender gives the dough a little more cohesion, and is our preferred method. But even without it, you can still make good crispbread.
Pour the dough onto a baking sheet lined with baking paper. You can flatten the dough with your hands. Or, if you want a thinner crispbread, place a new layer of baking paper over the dough and use a rolling pin to roll over the top layer of baking paper so that the dough is evenly spread over the entire surface of the baking sheet in a layer of about 1 cm.
Now the crispbread mixture is ready to go into the oven.
Bake it at 125 degrees hot air for 1.5 – 2 hours.
When you take the crispbread out of the oven, it's best to let it cool on a wire rack. After that, break it into pieces of the size you want.


TIPS I: If you like the finished crispbread to be in squares, you can use a sharp knife to cut a diamond pattern in the dough before baking. This will make it easy to break it into squares after baking.
TIP II: The crispbreads can be stored in an airtight container and will stay crispy for several days. They can also be frozen.
TIP III: For a taste variation, we recommend adding fennel seeds and coconut flour to the dough.
Enjoy your meal!